
The Comprehensive Guide to Mop like a professional!
What if I told you that everything is not as it seems when it comes to floors? Everything you have been taught about mopping is wrong? I’m crazy you’d say! Well, bring on the crazy! In this post, you will learn how to mop floor like a professional. Today we are going to cover how to mop floors properly, floor mopping tools, techniques, and secrets from the pros. Today we will probably smash a few misconceptions many people carry!
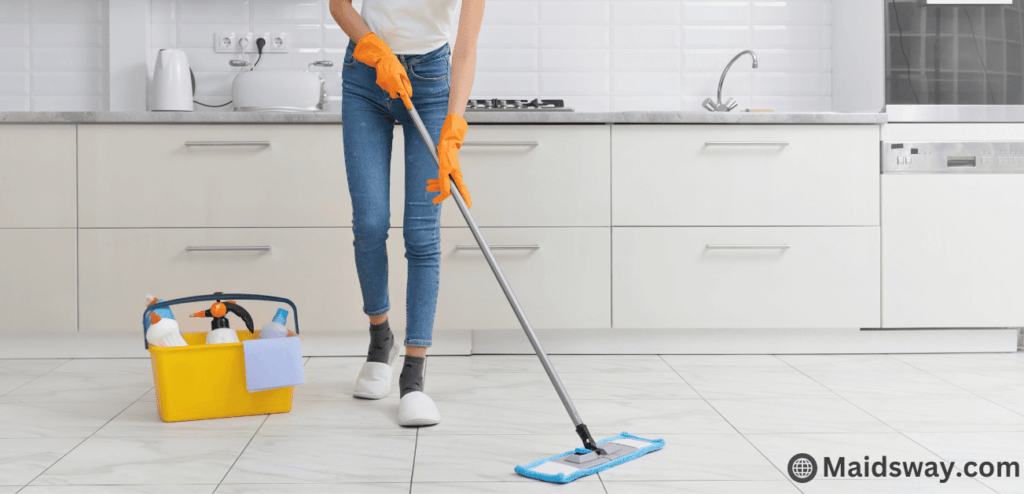
Allow me the pleasure of introducing you to your newest “best” friend in the battle against dirty floors! The flat-head microfiber mop. That’s right! It’s time to toss out every other floor mop you have ever owned and you’ll soon know exactly why!
This floor mop is what the pros use in almost every case and there are many reasons why. First and foremost it’s hands down the safest mop to use on any type of water-sensitive flooring such as hardwood and laminate. Here’s why: you take the individual microfiber heads (only as many as you need for the job!) and soak them in mop water. Then quickly hand wring to damp, and use the velcro system on the back of the mop head to attach the microfiber. As soon as it is dirty you replace it with another clean head and keep mopping the floor. When finished simply wash all the mop heads on a normal laundry load.

WARNING: Industry trade secrets and tips are below!
How to Mop Floors Properly: Step-by-Step Guide
PRO TIP: Prepare your floors first! Otherwise, you are just pushing around dirt from one grout line or groove to the next! We recommend a good sweeping and a quick once-over with a handheld canister vacuum. But any vacuum can be employed here.
1. Prepare mop water in an empty bucket. Our favorites for hardwood floors are Murphy’s Wood Oil. Be sure to follow proper dilution. For tile and laminate and other natural stones, we use the favorite of millions of households: good old Pine Sol (love that smell!), again at the proper dilution. Using extra cleaning solutions can make the floors sticky and require a second rinse, so read carefully!
PRO TIP: Always use cold water! Just a glance here will explain why, here’s the lowdown for you. Hot water can make the work even harder by spreading grease and oils, and most floor cleaners now use surfactants that work just as well or better cold!
2. Take your mop heads (most homes require 3-6 for light soil levels) and soak them in the mix for a few minutes. Next, hand roll in half like a sushi roll looks. Finally, twisting hard to get most of the solution out. A great test is to drop the mop head on the floor. If it splatters water, it’s too wet still, keep wringing!
3. You need to mop yourself “into” somewhere, so plan, the stairs or master room is a great place to finish you don’t track back over damp floors. Place your extra mop heads here as well so you aren’t walking back over mopped areas to get to more heads later.
4. Once the plan is in place, move to the furthest area you will be mopping from. Then begin mopping at the ending point to the exit.
PRO TIP: DO NOT use the push/pull method as this will just move any dirt and dust into corners and under trim. Start in one area and use a figure 8 motion with your starting point facing you and your back to the endpoint like so:
Check the mop often and when contaminants and dirt are seen, quickly switch mop heads!
5. For any hard-to-clean spots, use your foot to apply extra pressure on the middle of the mop head. Then while centered over a tough spot, a little leg power will get off most of these trouble spots!
6. Enjoy your amazing floors!
For those of you who enjoy a homemade green cleaner like the one we use at Maidsway, see our recipe below:
Homemade Floor Cleaner (safe on all surfaces, test small areas of any natural stone first, like with any new cleaner!):
Mix in a bucket:
1 Gallon Tap Water
3 Cups of White Vinegar
2 Cups Isopropyl Alcohol
1/8 teaspoon of dish soap (We love Dawn!)
15 drops of your favorite essential oils!
Mix well, and enjoy your amazing, green-cleaned floors!
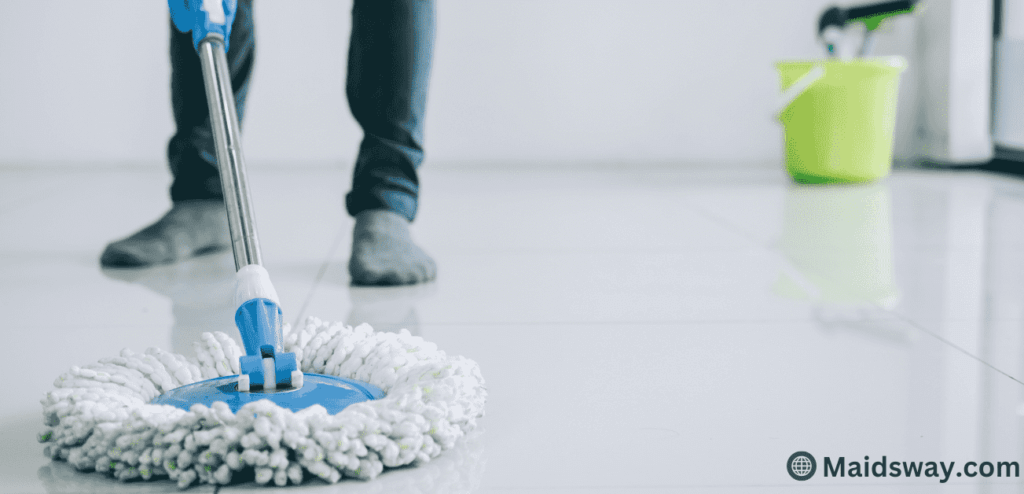
Mopping Techniques For Shiny Floors
Achieving that professional, shiny look involves a few extra steps:
- Double Mop: After your initial mopping, go over the floor again with just water. This removes any leftover cleaner that could cause streaks.
- Use a Dry Mop: Once the floor is slightly damp, switch to a dry mop or towel to buff the surface. This helps to enhance the shine and ensure no water spots are left behind.
- Polish as Needed: For certain floor types like vinyl, consider using a floor polish after mopping to restore and enhance the shine.
How to Dry the Floor after Mopping?
After knowing how to mop like a professional, you should also know how to dry it. It is critical to dry the floor to avoid streaks and other damage. To absorb extra moisture, use a dry mop, microfiber cloth, or a clean towel. Work in portions and provide adequate ventilation by opening windows or using a fan to accelerate the drying process. To avoid leaving footprints, avoid walking on the floor until it is completely dry, and check for any leftover damp patches that may require additional treatment. Once the floor is dried, consider polishing it to add gloss.
How Often You Should Mop Your Floors?
The frequency with which you mop is determined by the amount of people in the area, the type of flooring, and whether you have dogs or children. Most used areas, such as kitchens and entryways, should be mopped weekly, but moderately used areas, such as living rooms, can be mopped every two weeks. Least-used areas may just require monthly mopping. Homes with dogs or small children may require more frequent cleaning. Adjust your mopping plan depending on these considerations to keep your floors clean and well-maintained.
Conclusion – How to Mop Floor Like a Professional?
By reading this article, now you should know how to mop like a professional. Regular mopping is essential for maintaining the appearance and hygiene of your floors, but the exact frequency depends on your living situation. By adjusting your mopping schedule based on these factors, you can ensure your floors stay clean without overdoing.
FAQs
What type of mop should I use for different floors?
The type of mop depends on your flooring. For hardwood and laminate, use a microfiber mop to avoid scratches. A string mop works well for tiled or stone floors, where scrubbing might be necessary. For deep cleaning, a steam mop is ideal for sealed floors like tile or vinyl.
Should I sweep before mopping?
Yes, always sweep or vacuum the floor before mopping to remove loose dirt and debris. This prevents scratches and ensures a cleaner finish.
How long does it take floors to dry after mopping?
Floors usually take 10 to 30 minutes to dry after mopping, depending on the flooring type and ventilation. To speed up drying, use fans or open windows, and avoid walking on the floor until it's completely dry.
How do I deep clean my floors?
Deep cleaning varies by floor type. For tile and grout, use a brush and stronger cleaner to scrub away grime. For hardwood, a professional-grade wood cleaner or polish may be necessary. Deep clean every few months for best results.
How do I prevent streaks when mopping?
To avoid streaks, wring out the mop thoroughly so it’s damp, not soaking wet. Mop in sections, and follow the direction of the wood grain on hardwood floors. Drying the floor immediately after mopping can also help prevent streaks.